
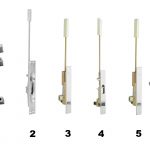
The other day Mark Kuhn asked if I had done a “What’s that?” post about coordinator brackets…coincidentally I had just taken some photos of one while we were at the BHMA meeting in Phoenix! So here’s Mark’s explanation with my photos, and if you’re not sure what a coordinator is, check out these links:
- Video of a pair of doors with a coordinator
- Whiteboard animation video about flush bolts and coordinators
- Decoded: Flush Bolts and Coordinators
- Ives Coordinators
~~~
 I received a FaceTime call today and spent several minutes explaining what a piece of hardware was, how it worked, and where it was mounted. So obviously my first thought was…“this would make a great iDigHardware post.” 🙂
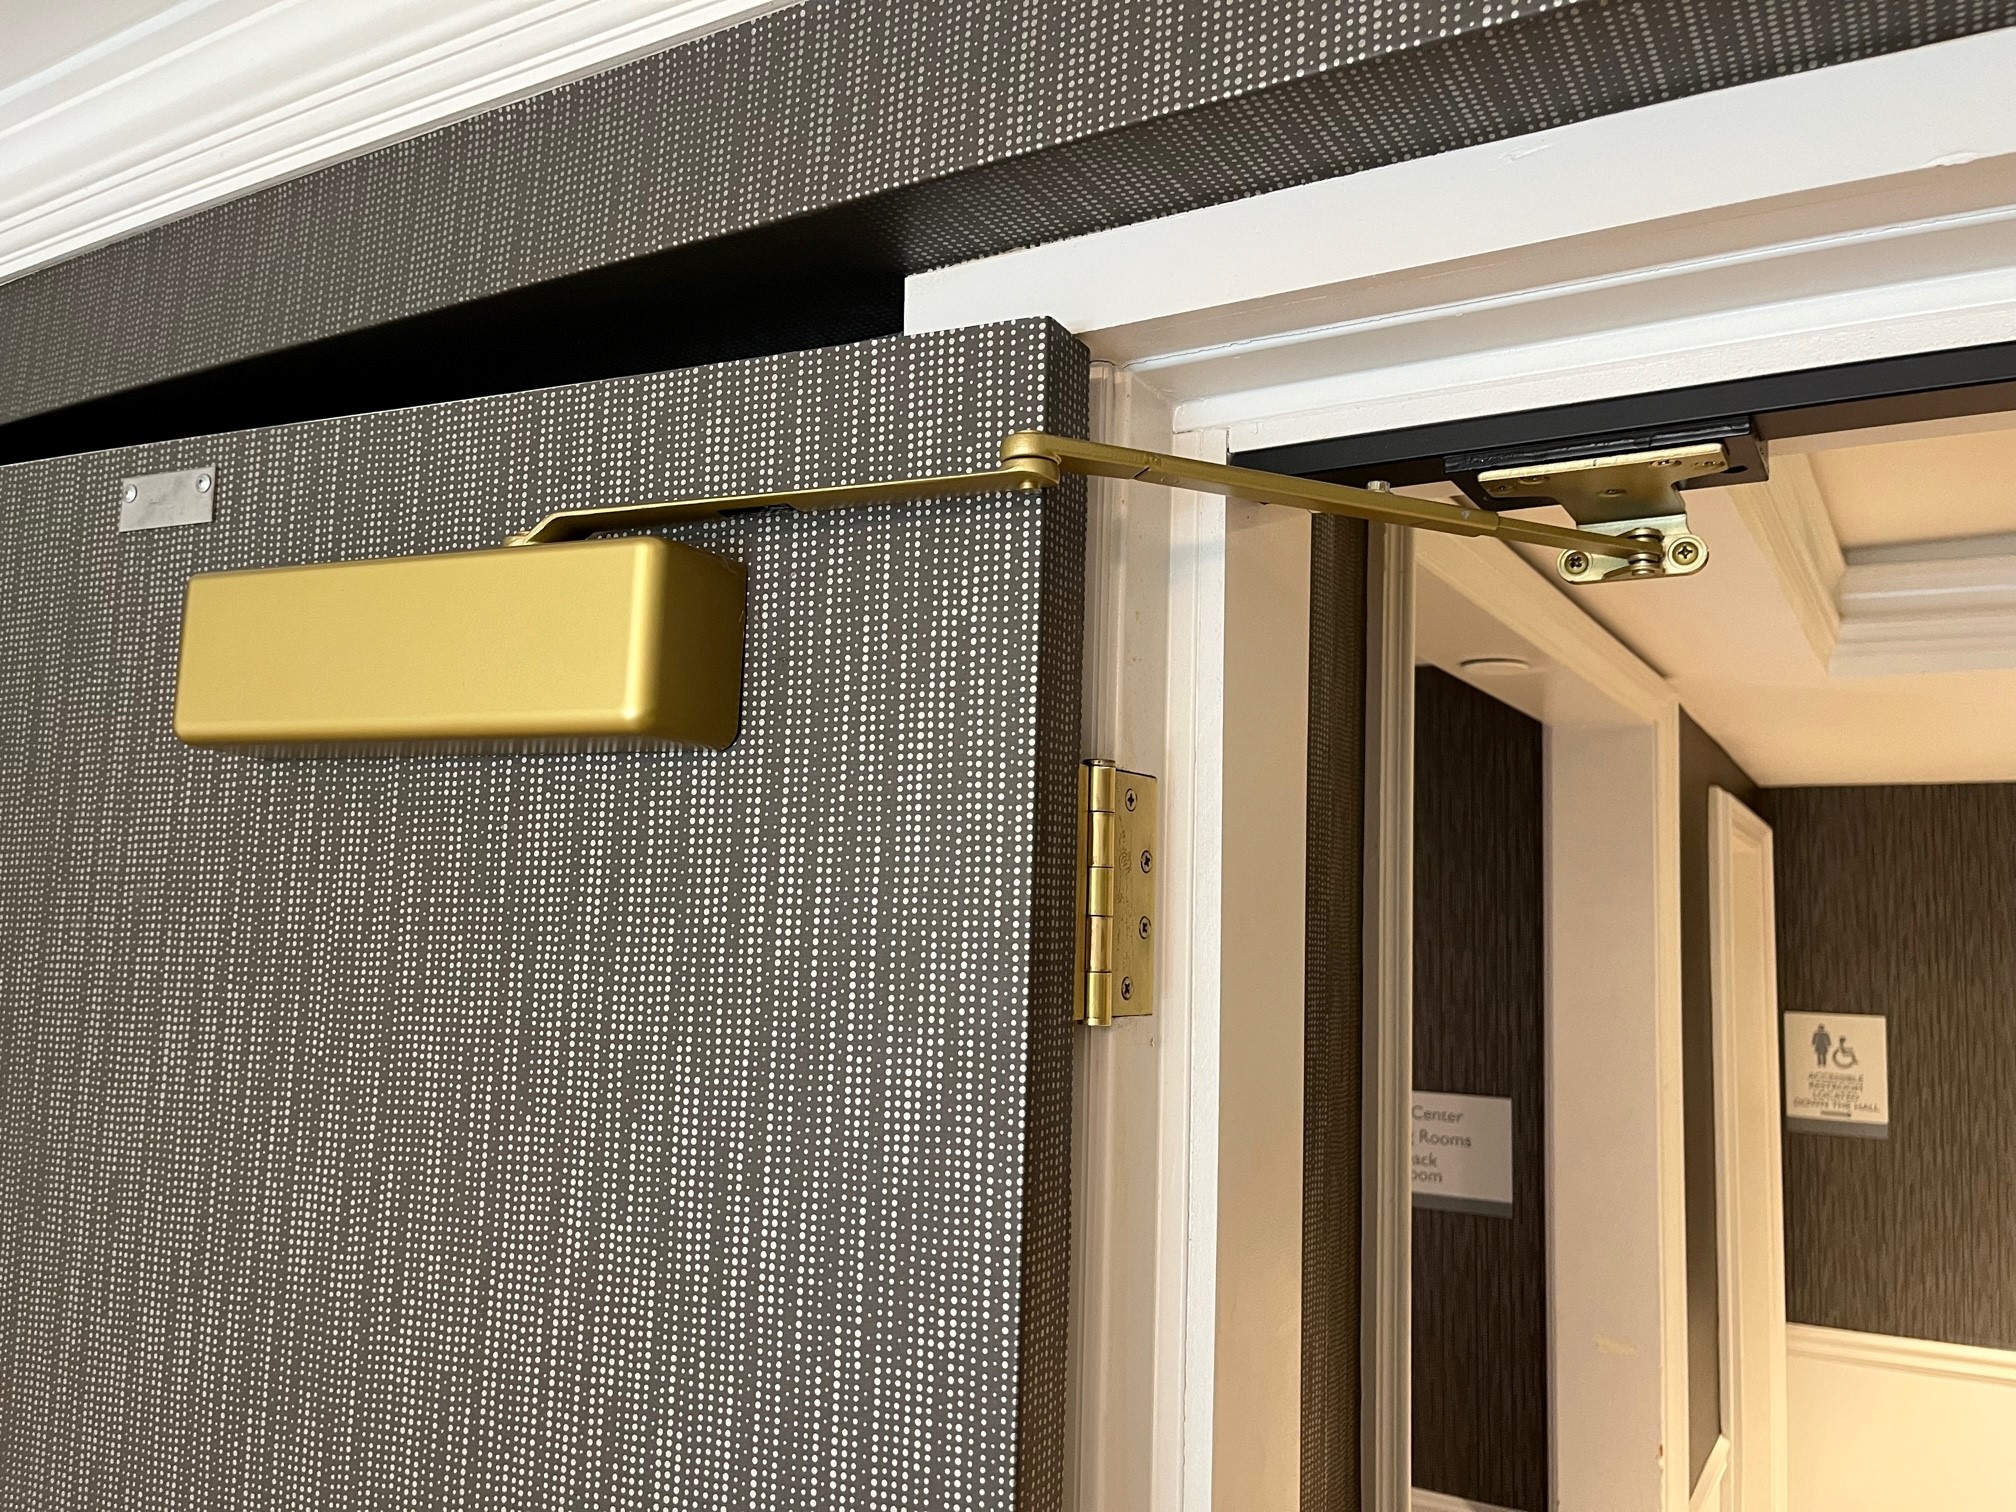
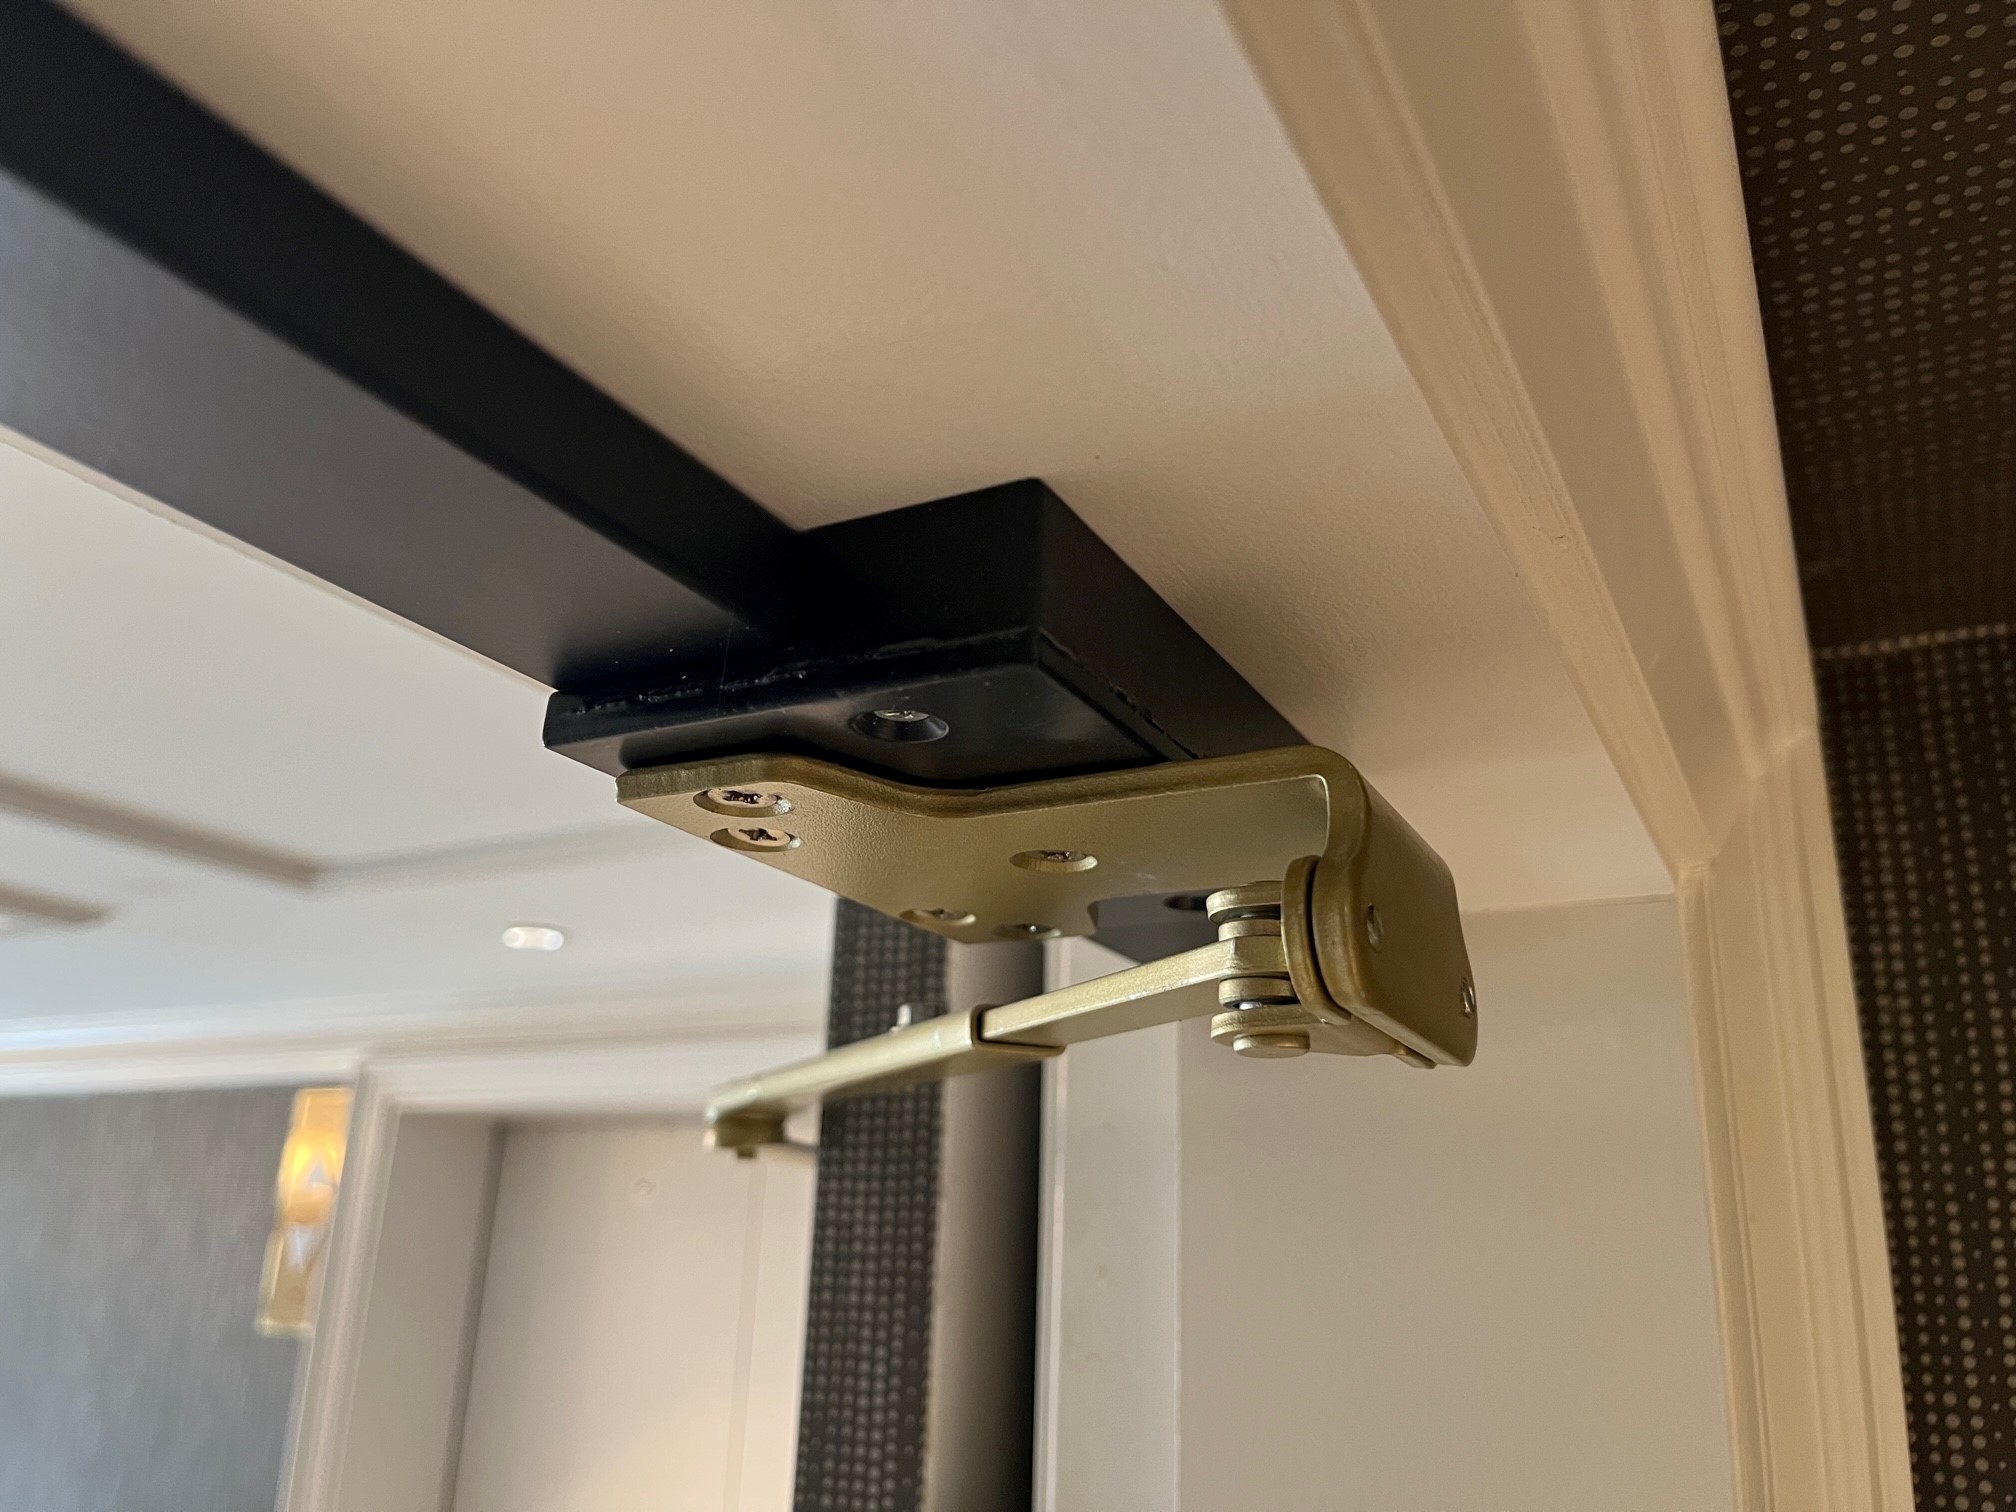
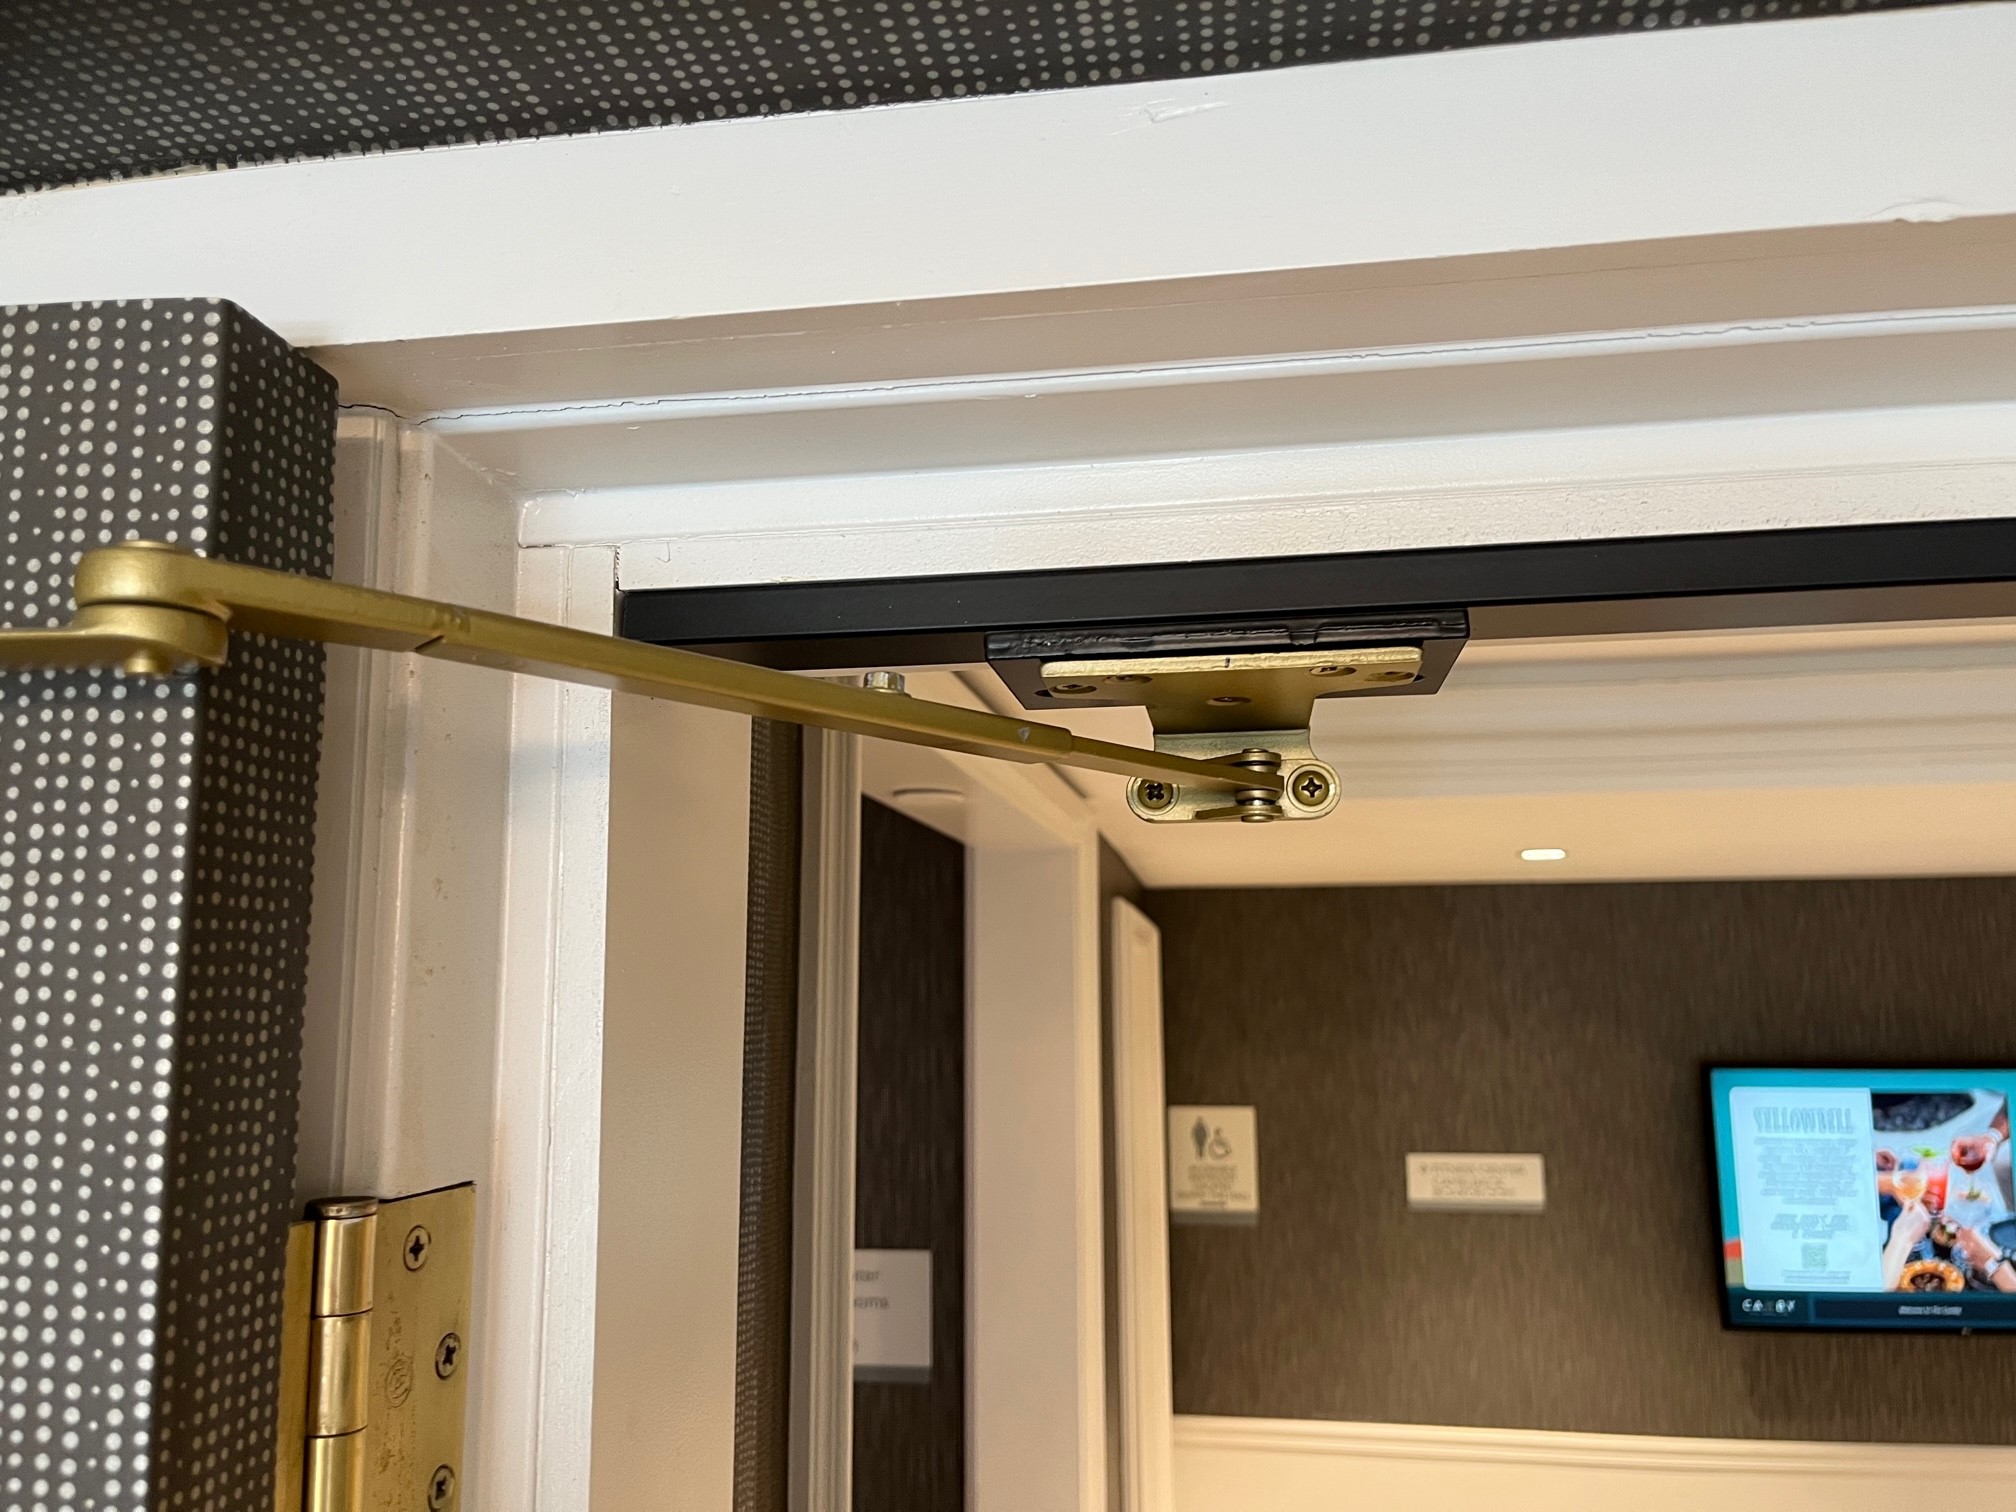
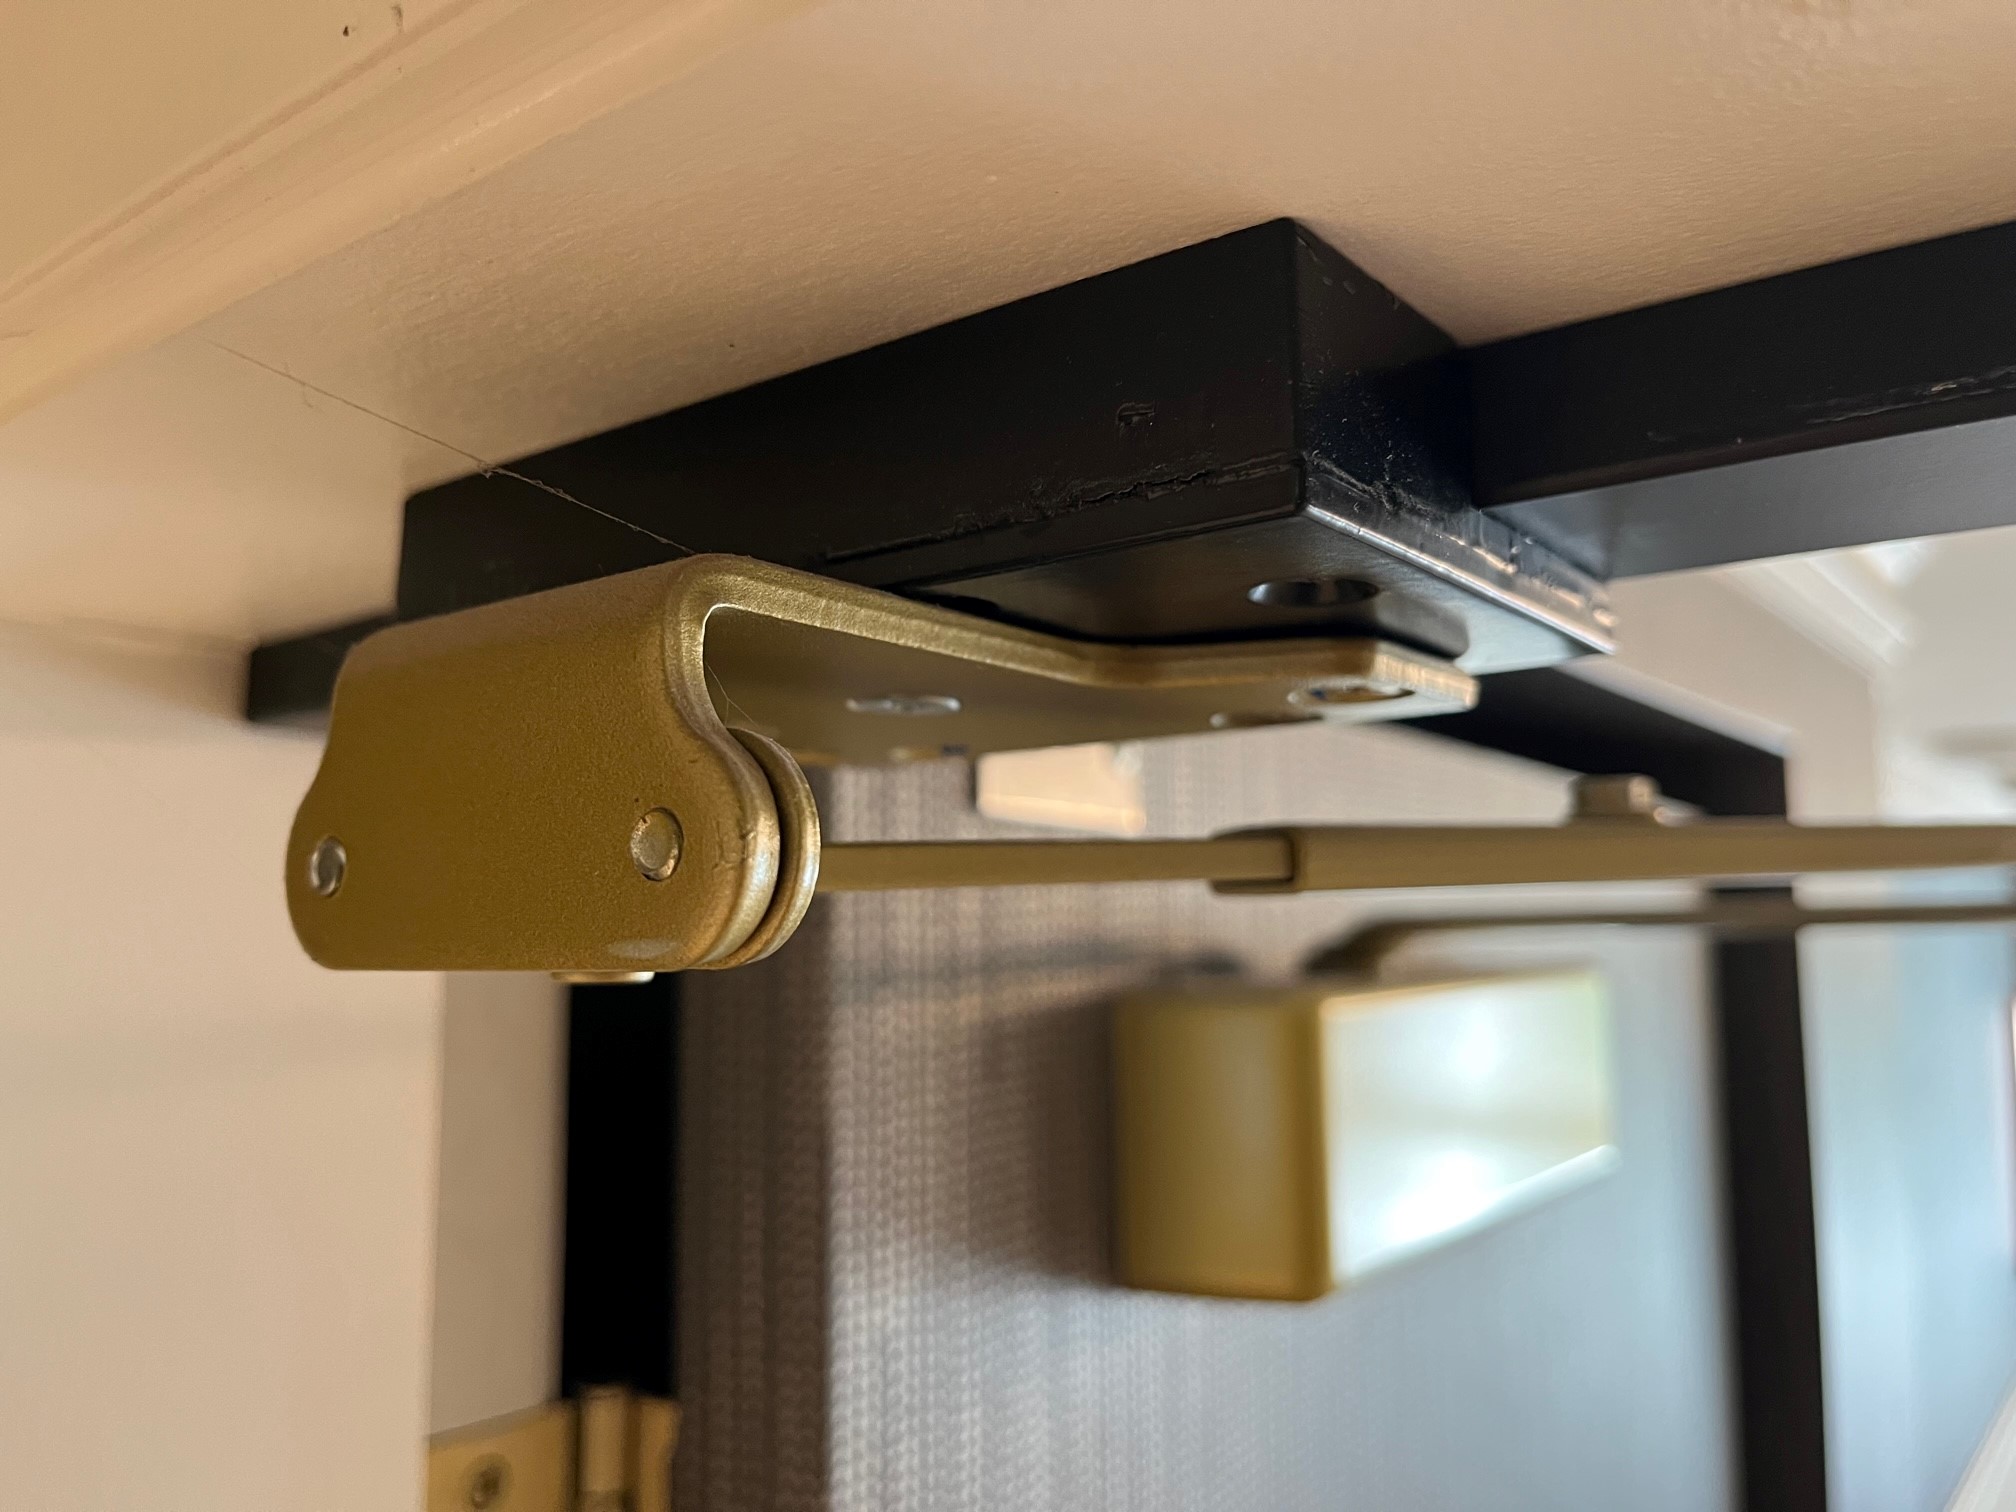
The piece of hardware in question is a coordinator mounting bracket. And if you said, “a what?” then this post is for you. Because I believe a picture is truly worth a thousand words, this post includes photos of a coordinator bracket from various angles.
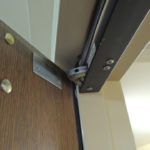
First, we need to understand the purpose of this piece of hardware. The mounting bracket is designed to allow a parallel arm closer shoe to be installed without damaging a soffit-mounted door coordinator. If that sentence just made you more confused, then please look here for some more information on coordinators.
A soffit-mounted door coordinator mounts to the soffit of the door frame (the underside of the frame head), but here’s the problem: a parallel closer shoe also mounts on the soffit of the door frame. Because they both need to be installed in the same place on the frame, and you can’t just attach the closer shoe to – or through – the coordinator, we need a way to resolve this conflict. The coordinator mounting bracket allows us to mount the parallel arm closer shoe to the bracket and not to the coordinator…allowing both pieces of hardware to mount to the frame header and to function properly.
Things to know…
- The coordinator mounting bracket is sized according to the width of the frame soffit – you need to know the soffit dimension to order the correct bracket.
- The coordinator mounting bracket typically comes with no holes predrilled for the closer shoe – you will need to drill and tap those holes in the field. (Also make sure the screws are the proper length and that they do not touch the coordinator.)
- Using a coordinator mounting bracket will require special templating of the door closer. Because of the thickness of the coordinator and the thickness of the bracket, the closer will be mounted lower on the door.
I hope that this post has helped some of you get a little better understanding of this piece of hardware, which may seem insignificant but is really very important.
You need to login or register to bookmark/favorite this content.


Since Ives has both the MB1/MB2 and the MB1F/MB2F you may want to address the difference between the two and where they have to be used. I saw a spec the other day that called for the MB1F. I can’t tell you how long it’s been since I’ve seen the F versions specified.
Raymond, it’s funny you should bring that up, because my spec writer said the same thing. It’s important to know that there is a fire rated and non-fire rated version of this product. Great Comment!
-Mark
True, but to clarify and unless something has changed, closers don’t require the F version, even on fire doors. Unlike a latch, once a door is closed, the closer serves no purpose during the fire. Now SVR top latches on fire doors, absolutely but you almost never see a need for coordinators on fire door pairs with exit devices any more. Hence the years (decades?) since I’ve seen one specified.
Retracting coordinators are the way to go. It eliminates the need for step down brackets and rub plates, not to mention lowering the closer body on the door (and often drop plates if you have full lite doors). The integrated rollers on the retracting coordinator allow for smooth closing-they always seem to function great, and they install in a a fraction of the time-and you don’t need to order any special sizes. The biggest problem with the bar coordinator is their tendency to fail. There’s a lot of pressure put on that active leaf holder having to hold a 36″ or even worse a 48″ door within a couple inches of the hinge stile. Try to hold that door open with your fingers that close to the hinge stile, it’s not easy fighting that closer.
I concur with Mr. Holman that vertical rod fire exit devices on both door leaves would eliminate the need for the coordinator, as would vertical latching lever hardware like the Schlage LM9200 or Sargent 7000.
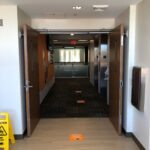
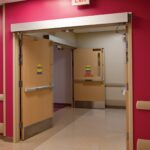
The photos raise a few other questions:
1. Are those doors covered with the same wallcovering that is on the wall above the door?
2. Does the wallcovering on the door conceal a fire label?
3. If the door is fire rated, then what door manufacturer besides Total Door has done fire testing to allow the application of wallcovering on their doors?
4. Are the doors normally held open with electromagnetic holders that de-energize upon smoke detection to allow the doors to automatically close?
5. Is the door closer arm on the LHR leaf preventing the door from opening far enough to be held open with a wall-mounted electromagnetic holder?
6. If the doors are normally held open, then regular arm closers mounted on the pull side of the doors would have been less conspicuous. Due to the typical surface closer projecting 2-1/4” from the face of the door, this would require increasing the hinge width to 5-1/2” or 6”, since the common 4-1/2” wide hinge places the face of the door at 1-1/2” from the face of the door frame when open 180 degrees, and the typical HM frame projects 1/2” from the face of the wall.
7. Pocket closers would have been the least conspicuous option. Since LCN only makes a 90 degree pocket closer, the 180 degree pocket closer would need to come from another manufacturer such as the Sargent 351 or Dorma TS93 or Dorma 8900.
Hi Rex –
You make a lot of great points! These doors have some other issues (but were the only example I had to show a coordinator bracket)…watch for another post soon!
– Lori
#5, The closer arm attached to the PA shoe needs to be flipped to allow the door to swing to a full 180°. #3 Stiles Custom Metal has a listing on their fire rated doors that allows HPL applied to the faces of their HM Doors, but uncertain if it included actual wall coverings-doubtful since the wall covering was applied after the installation of the door. I did just notice the step down brackets and closer shoes were not installed with the hardware supplied with the step down brackets-the door shoes are mounted with butt screws. And the coordinator rub plate was installed with TEK screws-lots of shortcuts here. And it appears as though there’s wood cladding over the frame-is this opening supposed to be rated?
Hi Robert –
Yes – this opening has some problems…I have more photos to share! 🙂
– Lori